Self-Hosting Apps on a Budget VPS with ServerKit
Self-Hosting Apps on a Budget VPS with ServerKit
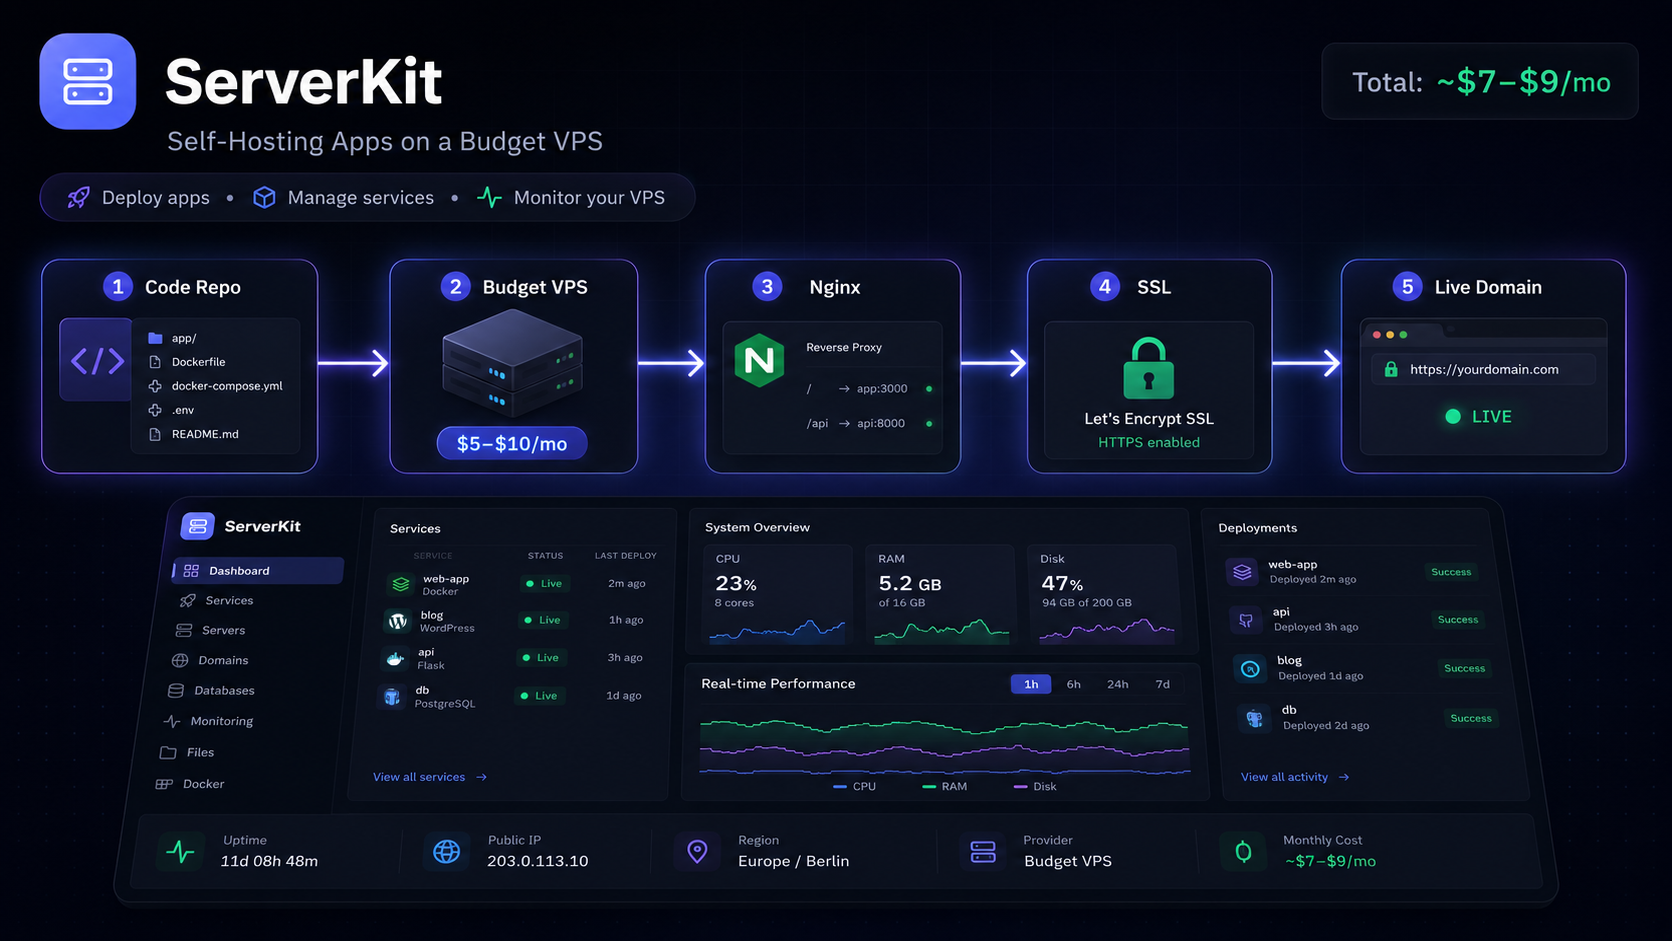
You don’t need expensive hosting to run your own apps. A $5–$10 VPS, a domain, and ServerKit are enough to host multiple projects with SSL, databases, and automatic deployment.
In this guide, I’ll walk you through the full setup.
What you’ll need
- A VPS from DigitalOcean, Linode, Hetzner, or any provider
- A domain name (or subdomain) pointed at your VPS
- ServerKit installed on the server
- A Flask, Django, Node.js, or static app to deploy
Step 1: Provision the VPS
Start with Ubuntu 22.04 or 24.04. Most budget VPS providers offer this as a one-click option. Note the server’s IP address.
Point your domain’s A record to the server IP:
A yourdomain.com → 123.456.789.0
Step 2: Install ServerKit
SSH into your server and run the ServerKit installer:
curl -fsSL https://raw.githubusercontent.com/jhd3197/ServerKit/main/install.sh | bash
The installer sets up:
- Nginx as the reverse proxy
- PostgreSQL or MySQL
- ServerKit’s Flask backend
- The React dashboard
- A systemd service to keep ServerKit running
Step 3: Log into the dashboard
Once the install completes, open http://your-server-ip:5000 in your browser. Create an admin account and you’ll see the dashboard.
Note: For production, put ServerKit behind Nginx with SSL. The installer can generate a Let’s Encrypt certificate automatically.
Step 4: Create a new app
In the ServerKit dashboard:
- Click New App
- Enter the domain (e.g.,
app.yourdomain.com) - Choose the runtime: Python/Flask, Node.js, or static
- Set the root directory (e.g.,
/srv/apps/myapp)
ServerKit creates the Nginx config and prepares the directory.
Step 5: Deploy your code
You have a few options:
Option A: Git deployment
Connect a GitHub or GitLab repo. ServerKit can pull the latest code and restart the service on push.
Option B: Upload files with Faro
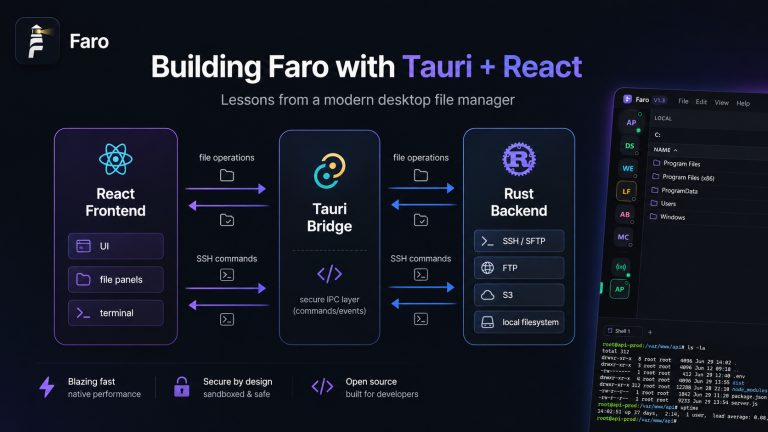
Use Faro to drag your build files into /srv/apps/myapp/public. Faro’s dual-pane file manager makes this fast.
Option C: SCP or rsync
rsync -avz ./dist/ user@server:/srv/apps/myapp/public/
Step 6: Add SSL
In the app settings, enable SSL. ServerKit requests a certificate from Let’s Encrypt and updates Nginx. Within seconds, your app is live on HTTPS.
Step 7: Monitor and maintain
The ServerKit dashboard shows:
- App uptime
- Service status
- Server CPU/memory/disk usage
- Recent deployment logs
You can restart apps, view Nginx logs, and manage databases from the same interface.
Cost breakdown
| Item | Monthly cost |
|---|---|
| VPS (1 CPU, 1 GB RAM) | $5–$7 |
| Domain | $1–$2 |
| ServerKit | Free |
| SSL (Let’s Encrypt) | Free |
| Total | ~$7–$9/month |
For that price, you can host multiple small apps, learn server administration, and own your infrastructure.
Common pitfalls
- Firewall issues: Make sure ports 80, 443, and 22 are open.
- Permission errors: ServerKit runs apps under dedicated users. Upload files as the app user or adjust permissions.
- Database connection strings: Use environment variables in ServerKit, never hardcode credentials.
Next steps
Once your first app is live, adding a second one is just a few clicks. ServerKit handles the Nginx routing and SSL for you.
Get ServerKit: github.com/jhd3197/ServerKit
Related posts: